To return to your notebook, the basic steps will be:
- Start your instance
- Update the course repo
- Update the fastai library
- When done, shut down your instance
Step by step guide
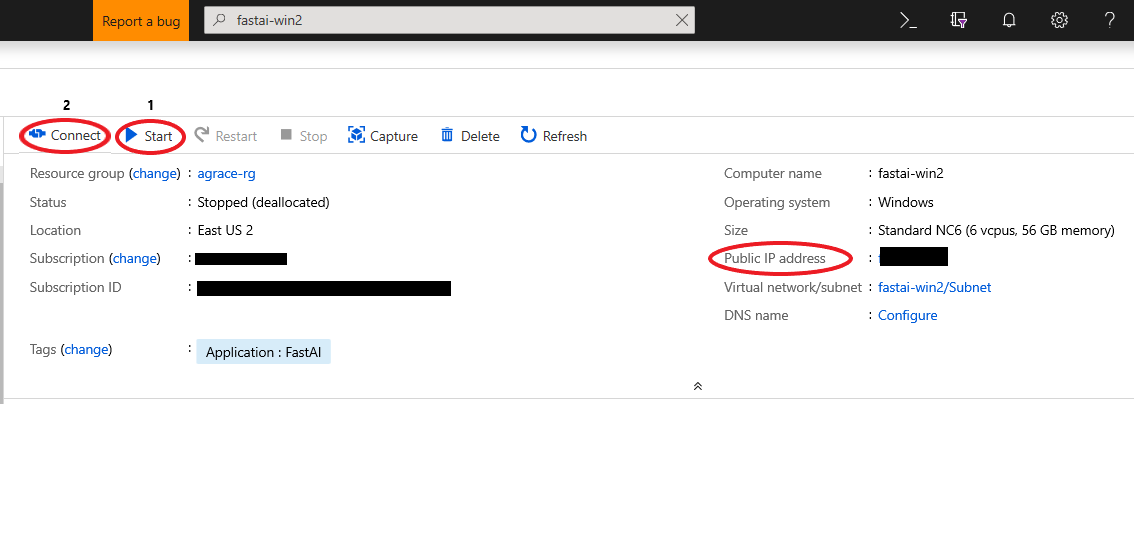
Start your instance
Log in to the Azure portal then find the DSVM instance name on the Azure portal and start the VM. You will see the DSVM detail page as below:
- For Linux,
- Copy the IP address from the page above.
- Enter the IP address in a browser as https://«ip address»:8000 to access jupyter notebooks. Jupyter is supported on Chrome, Firefox or Safari.
- You will need to provide the usename and password you provided in the creation step.
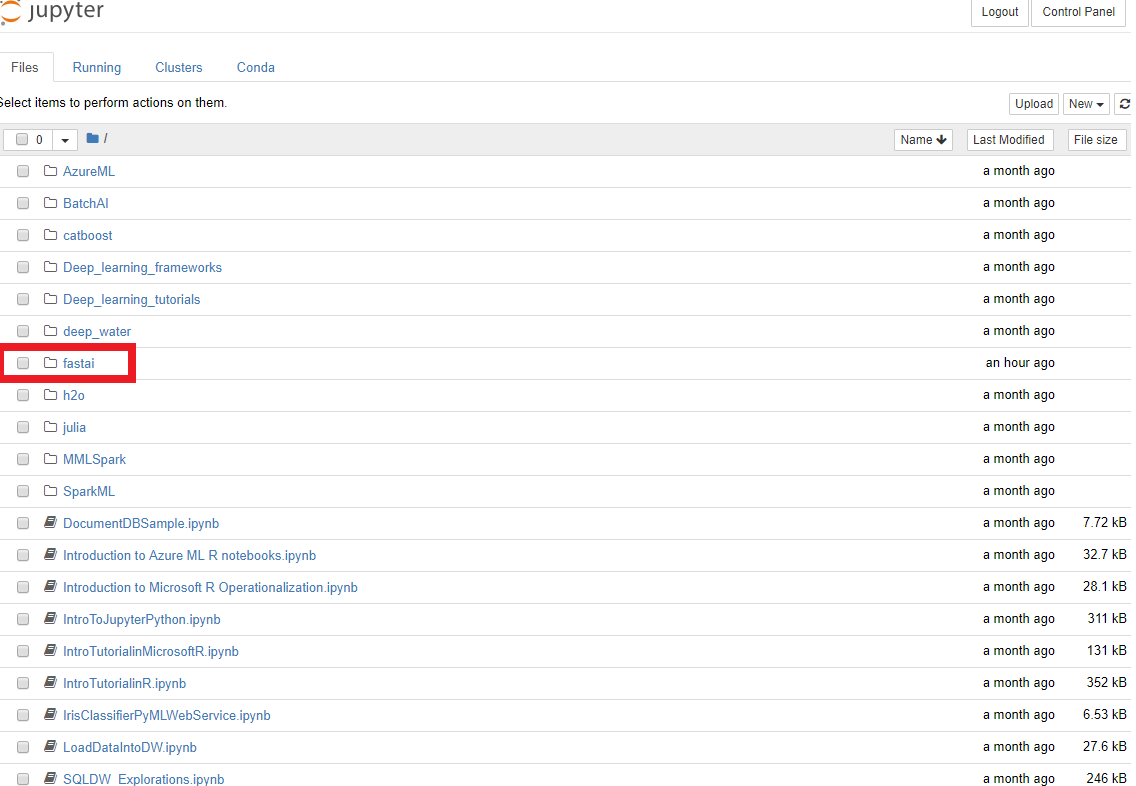
- To access the notebooks, from the course-v3, click on fastai:
- For Windows,
- Click the ‘Connect’ button on the DSVM page. This will open the Remote desktop application.
- Enter the username and password you provided in the creation step.
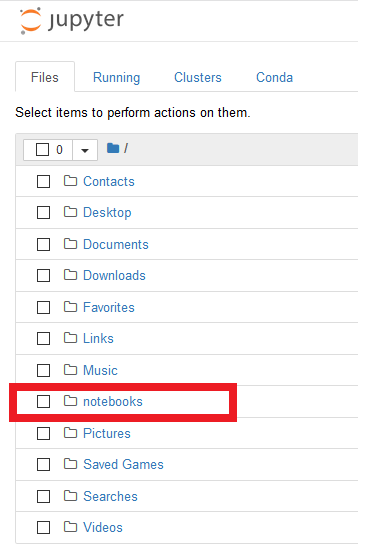
- Click on the Jupyter icon and then click on notebooks:
Update the course repo
- For Linux, to update the course repo, open a new terminal in jupyter notebook (click on ‘New’ then ‘Terminal’), run these two commands:
cd ~/notebooks/fastai/course-v3/ git pull -
For Windows, to update the course repo, open a command prompt and run the following commands:
cd notebooks/fastai/course-v3/
git pull
Update the fastai library
- For Linux, to update the fastai library, open a new terminal in jupyter notebook (click on ‘New’ then ‘Terminal’), run this command:
sudo -i conda install -c fastai fastai -n fastai - For Windows, to update the fastai library, open a command prompt and run the following command:
conda install -c fastai fastai -n fastai
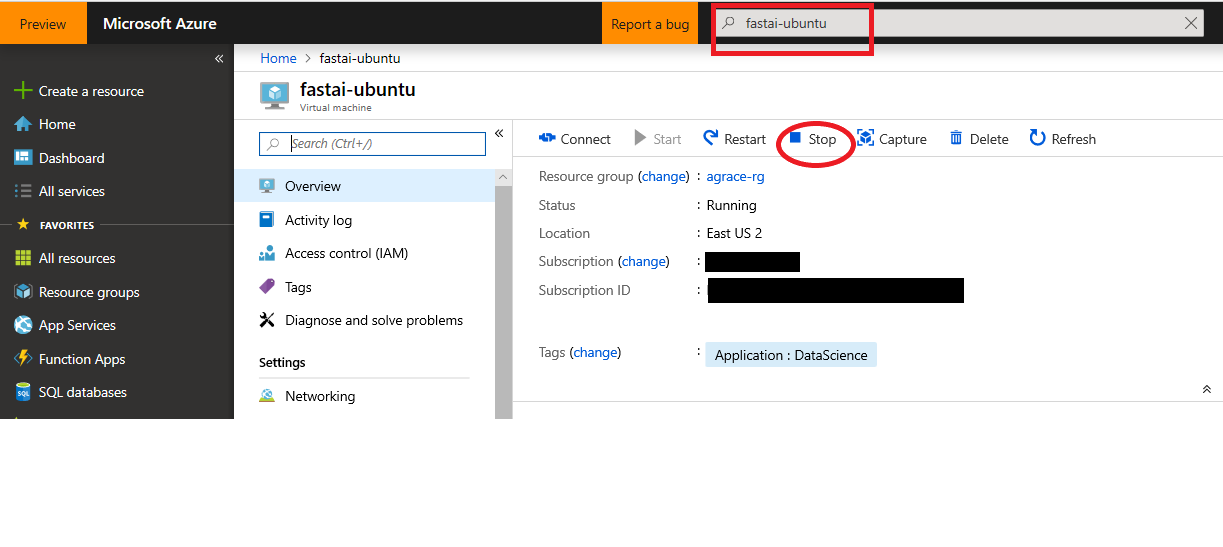
Stop an instance
When you are done, you can stop the instance by clicking on the “Stop” button. You will be charged if you dont stop an instance.