To return to your notebook, the basic steps will be:
- Start your instance
- Update the course repo
- Update the fastai library
- When done, shut down your instance
Step by step guide
Start your instance
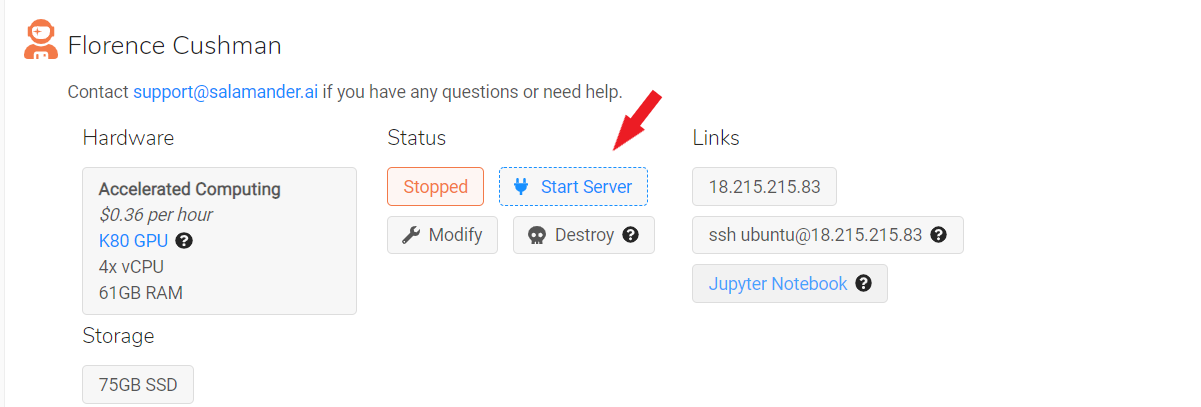
Sign in to salamander and choose the instance you want to start, then click on the button ‘Start Server’.
Wait about a minute for the server to start. You’ll see the status go through several stages (written in orange) until it’s ready like this:
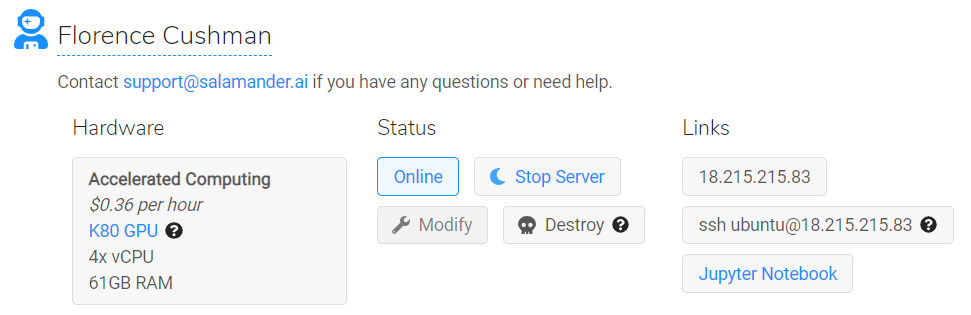
You can then either ssh to your terminal by copying the content of the second box or click on the ‘Jupyter Notebook’ button to directly head to your notebooks
Update the course repo
To update the course repo, you will need to be in terminal. If you used the ssh method, you’re already there, if you clicked on the ‘Jupyter Notebook’ button, launch a new terminal from the jupyter notebook menu.
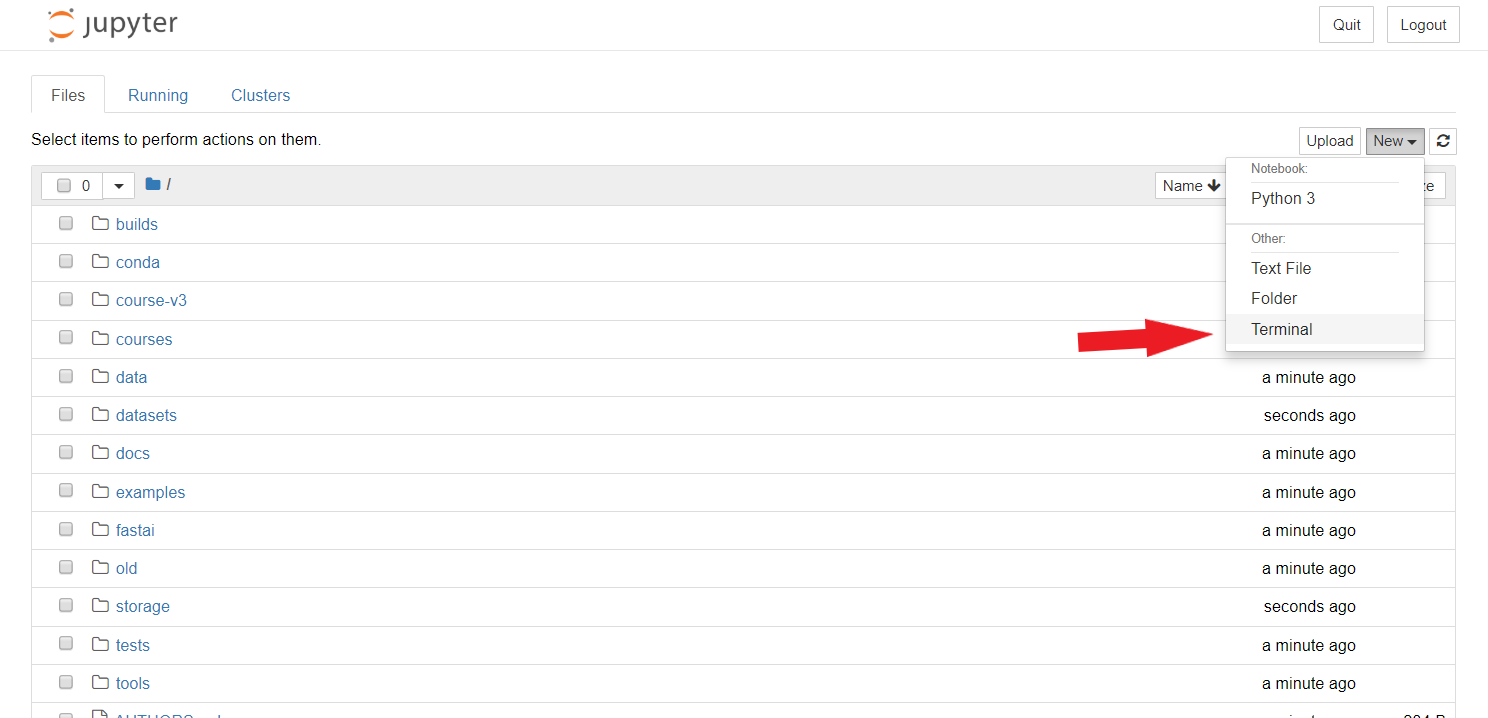
This will open a new window, in which you should run those two instructions:
cd course-v3
git pull

This should give you the latest of the course notebooks. If you modified some of the notebooks in course-v3/nbs directly, GitHub will probably throw you an error. You should type git stash to remove your local changes. Remember you should always work on a copy of the lesson notebooks.
Update the fastai library
To update the fastai library, open the terminal like before and type
conda install -c fastai -c pytorch fastai pytorch
cd course-v3/
git pull
Stop your instance
Once you’re finished, go back to the salamander page and click on the ‘Stop Server’ button next to your instance.
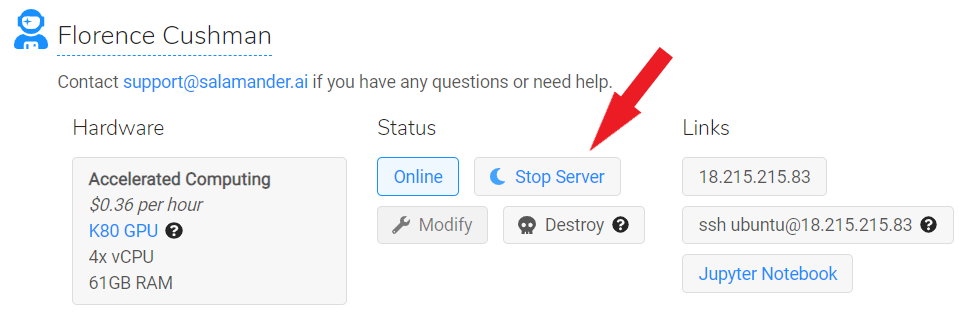
It’s not enough to just close your browser or turn off your own computer.