Fast.ai Deep Learning Course v3 on FloydHub

This is a quick guide to starting v3 of the Fast.ai course. With FloydHub, you get access to a dedicated JupyterLab instance. If you are returning to work and have previously completed the steps below, please go to the returning to work section.
Pricing
FloydHub Jupyter workspaces and jobs are billed while they’re running and the rate is dependent on the Machine selected.
Workspaces must be stopped to end billing, but FloydHub will automatically shut down your Workspace after 15 minutes of inactivity. By default, this is set to 15 minutes, but you can easily adjust this setting.
Step 1: Click this Run on FloydHub button

Clicking this FloydHub button takes you through a guided process that sets up a Jupyter Workspace with the fast.ai course-v3 source code.
Step 2: Create an account
First, you’ll be asked to create your FloydHub account. You can also use your Google or GitHub accounts to sign up and log-in. Be sure to confirm your FloydHub account by clicking the verification link in your inbox.
Step 3: Create your first Project
Next, you’ll be redirected back to the Create Project from Repo page.
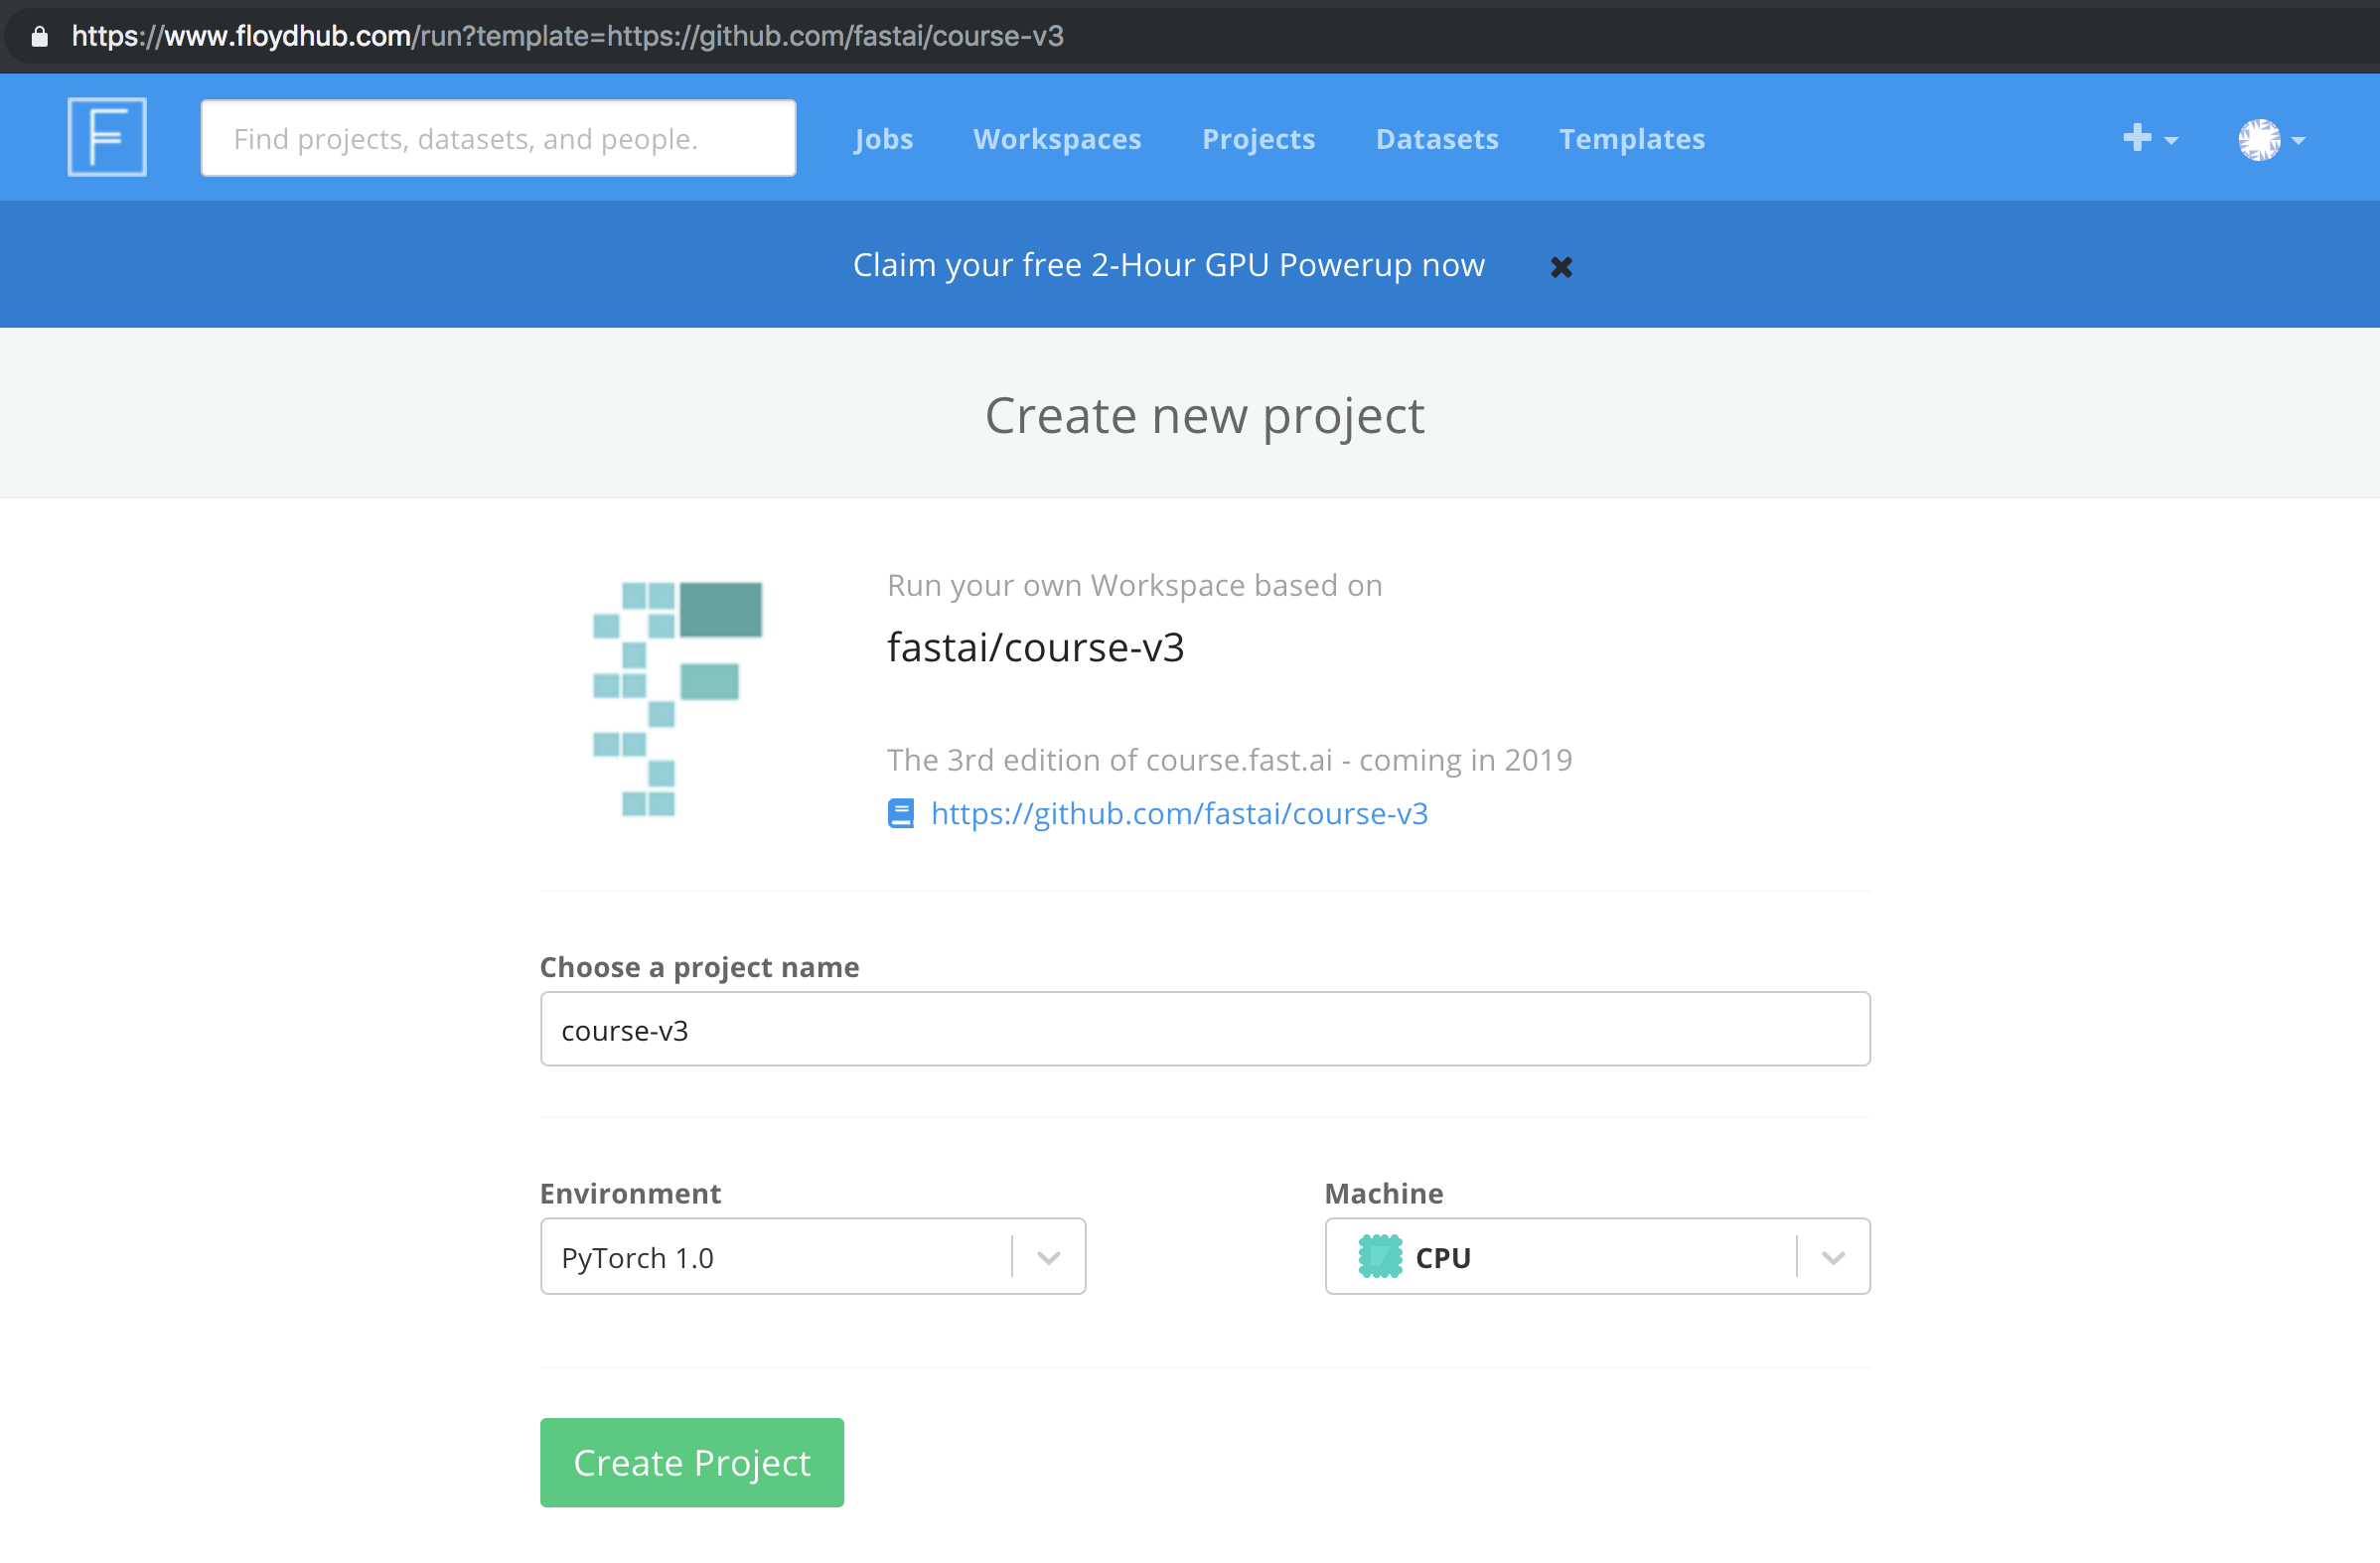
A FloydHub config file has been added to the fastai/course-v3 repo, so FloydHub will adjust your Workspace’s Environment (aka Docker image) to PyTorch-1.0. You’ll also notice that the Machine is initially set to CPU. We’ll show you how to toggle your Workspace to GPU mode in Step 5.
Step 4: Run your first Workspace with a CPU Powerup
After creating your project, you’ll be directed to the project’s list of Workspaces.
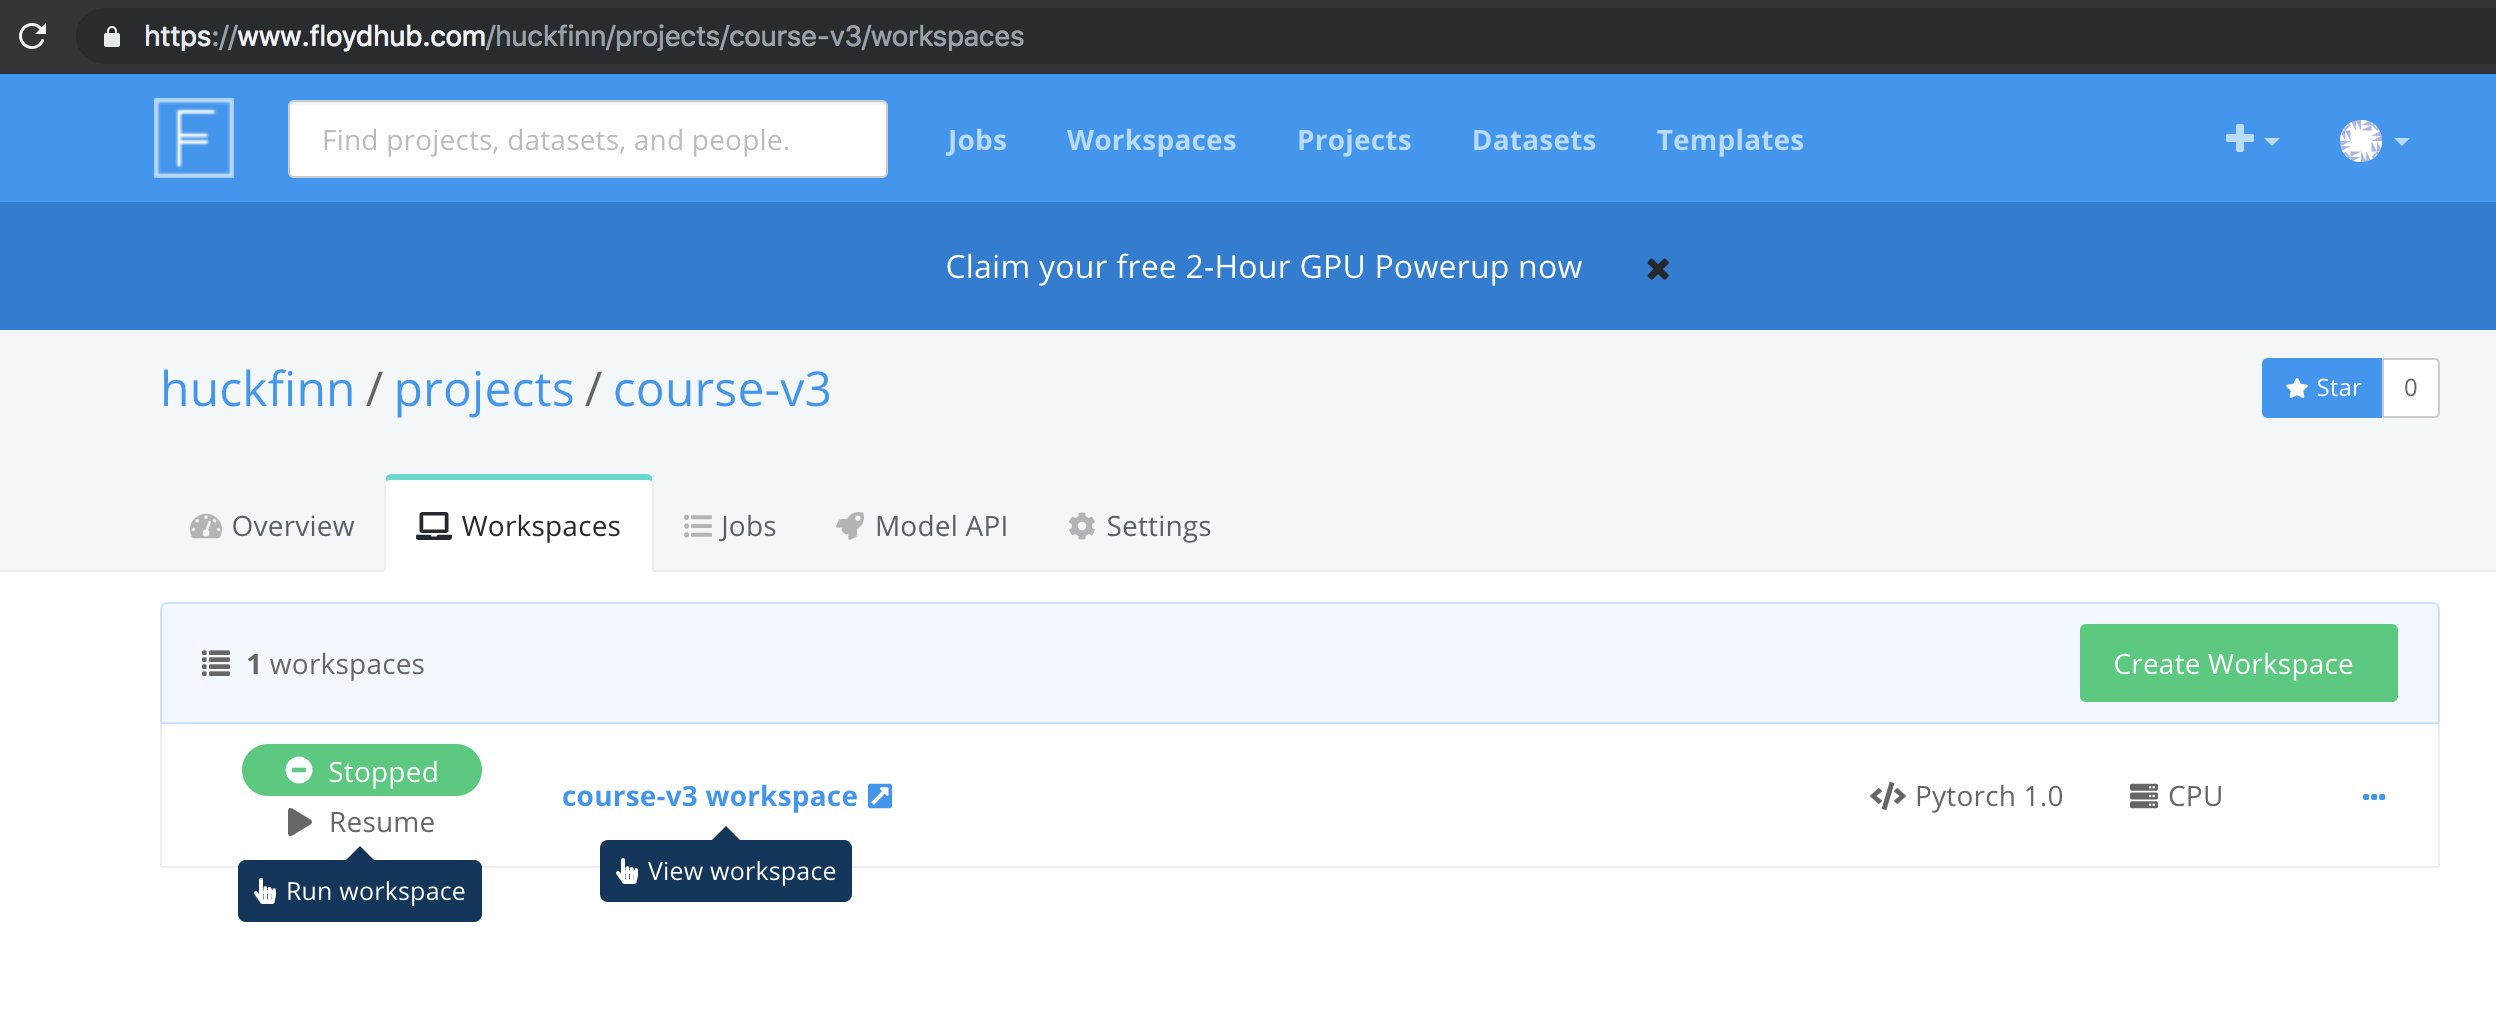
Click the “Resume” link, and then click the name of the Workspace to open up your Workspace.
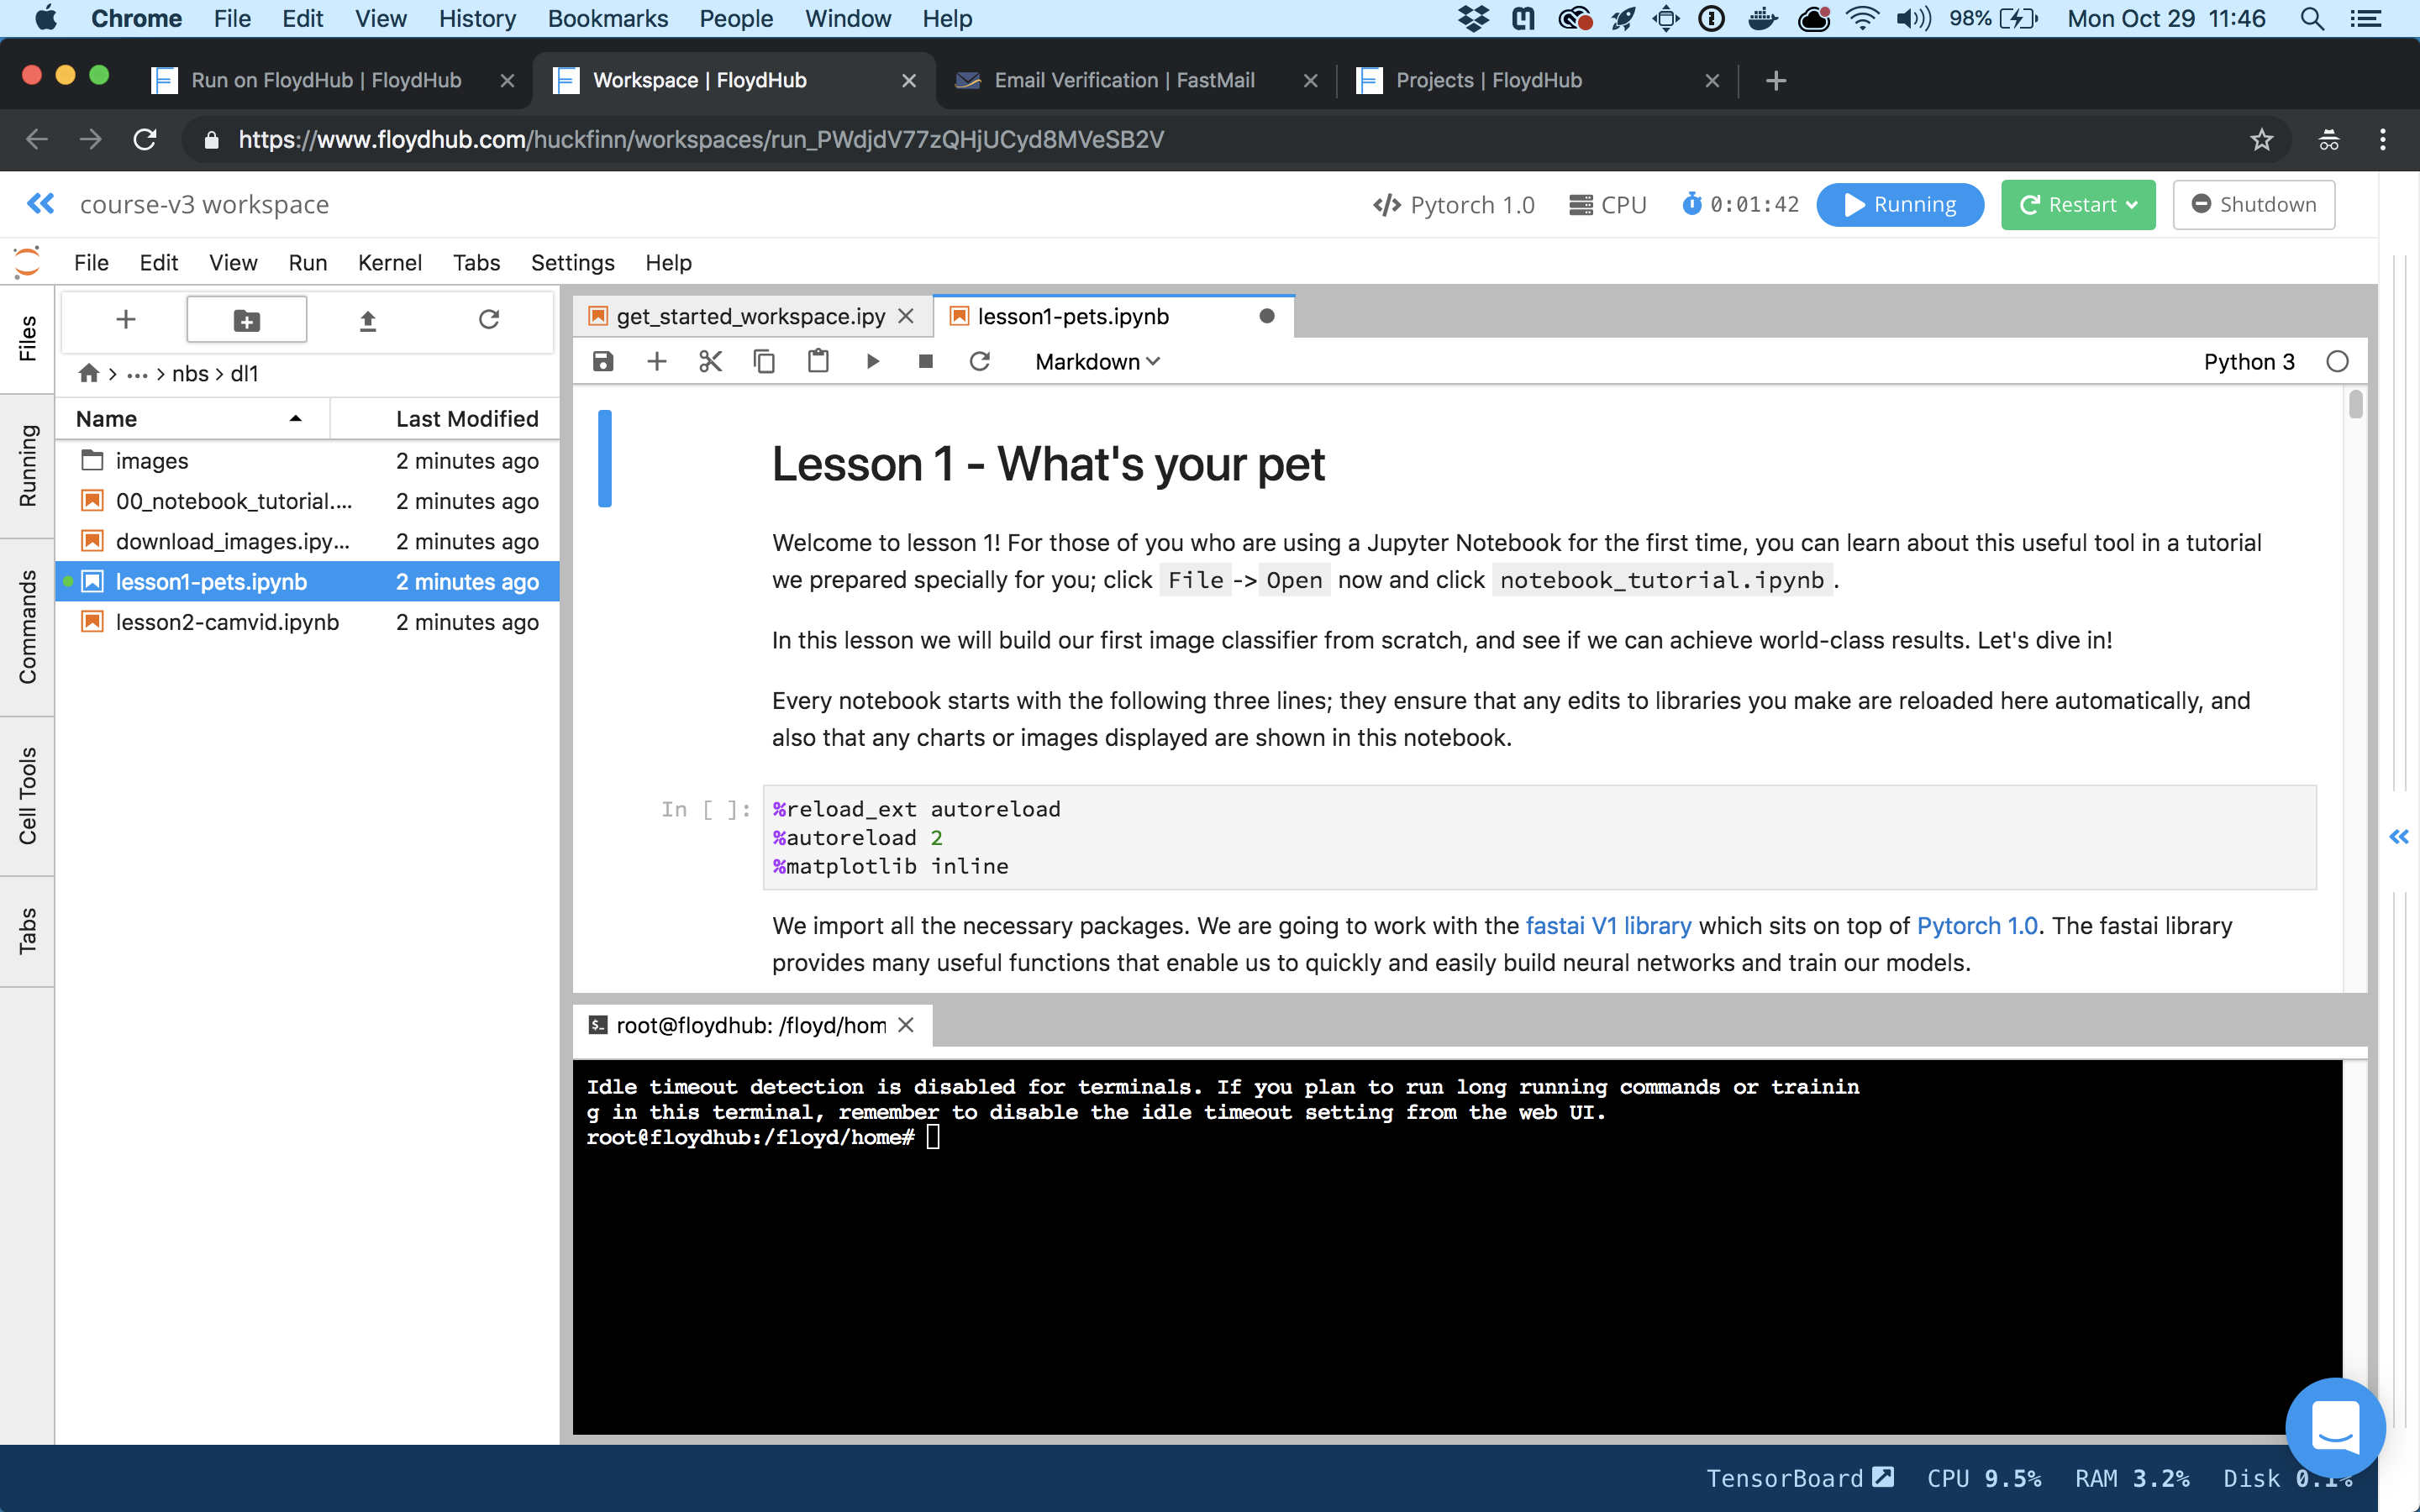
You’re now in your first Workspace on FloydHub. Behind the scenes, FloydHub has set up your machine with PyTorch-1.0, the latest fastai library, and many other useful machine learning packages.
Step 5: Restart your Workspace using GPU Powerup
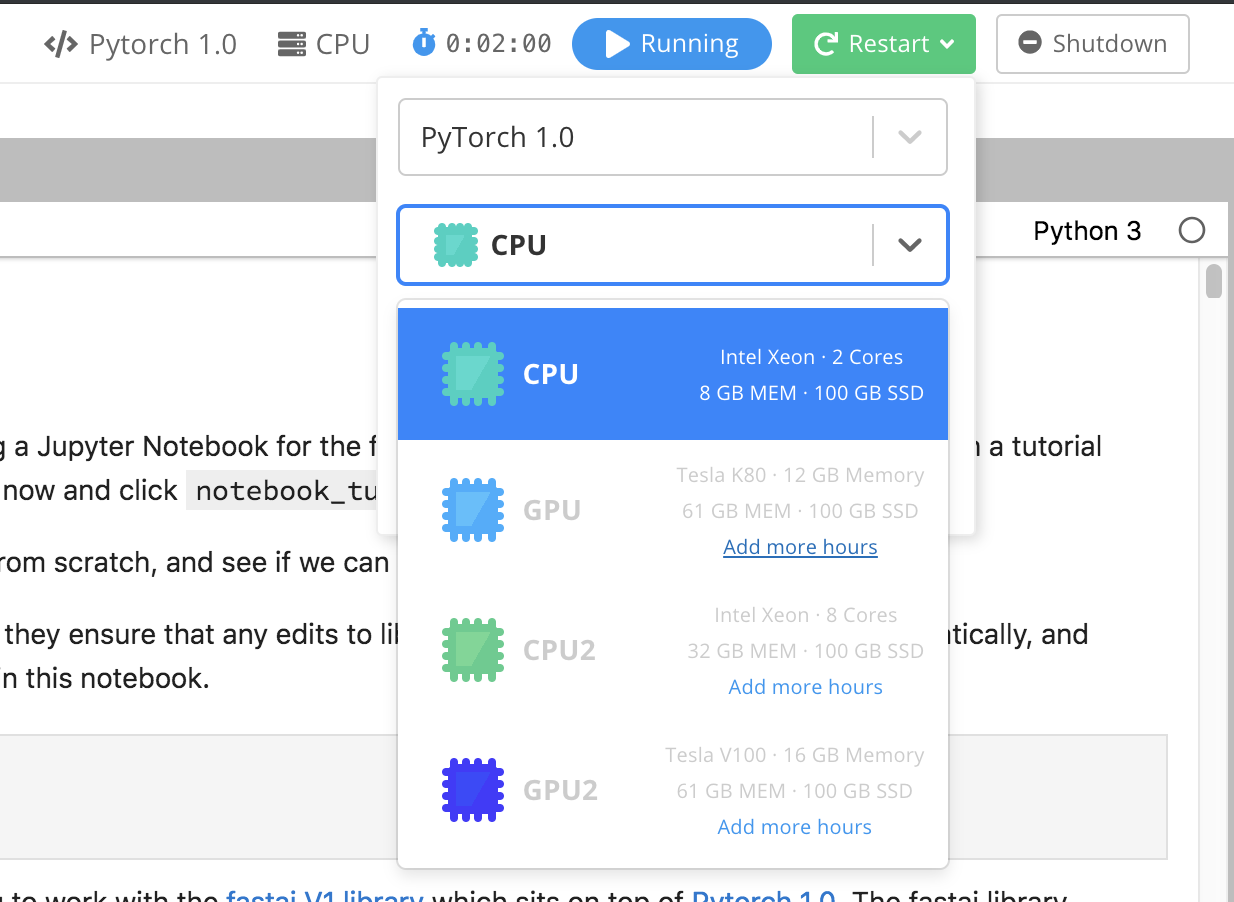
Now that you’ve got a running Workspace on a CPU machine, let’s restart it using a GPU machine.
Click the “Restart” button in the upper right top-nav bar of your Workspace. You’ll see a dropdown list of machine-types. Once you have available hours, these options will be filled in and let you easily toggle between machines. You can get 2 hours free GPU: Under “GPU”, click Add more hours.
On the top of this page, you should see a banner that says: Claim your free 2-Hour GPU powerup now. Click that banner link, and fill out your Payment info.

Now you should see a new 2 Hour GPU powerup in your Settings page.
Go back to your running Workspace and refresh the page. You’ll now be able to click Restart button and select the GPU option.
You’re now live in a GPU-powered Workspace on FloydHub.
Step 6: Stopping your Workspace
Just click the Shutdown button. This will end the billing session. You can navigate and view your code while your Workspace is Shutdown.
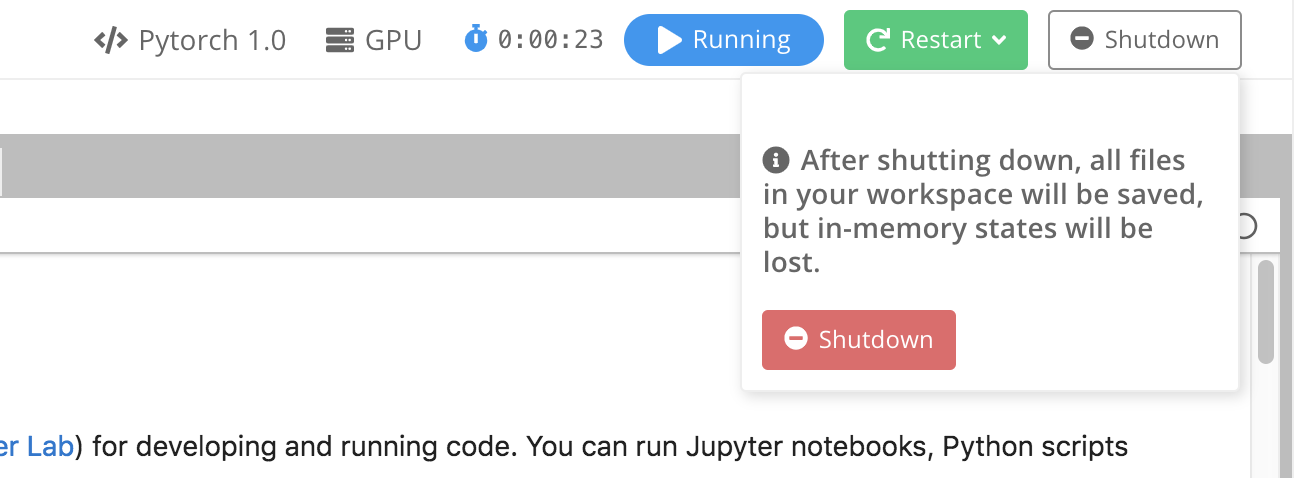
NOTE: you will be charged for the time that your Workspace is running. You must shutdown the Workspace to stop incurring charges.
For more details, updating the course and the fastai library see “Returning to work”.
Additional considerations:
Persisting data
Anything you save in the /floyd/home directory will be persisted, which means you’ll have access to these files every time you Restart your Workspace. FloydHub also adjusted the default fastai config.yml file to store your datasets and models in the /floyd/home/fastai/data directory. This helps you navigate your datasets in the Workspace’s file-browser, and will also persist your datasets and models each time you open your Workspace.
Where to get help
Questions or issues related to course content, we recommend posting in the fast.ai forum.
For FloydHub-specific support, check out the rest of the FloydHub forum, or email FloydHub support.
Many thanks to Charlie Harrington for writing this tutorial