To return to your notebook, the basic steps will be:
- Start your instance
- When done, shut down your instance
Your instance will run a script when started to update the fastai library and get the latest notebooks from the GitHub repository here.
Step by step guide
Start your instance
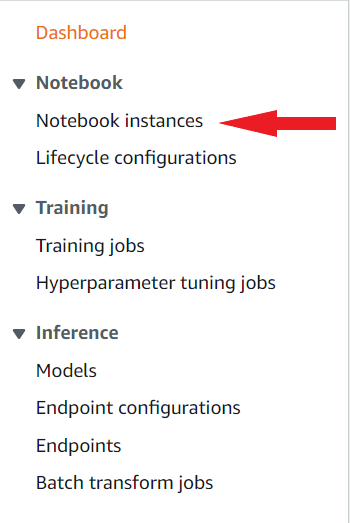
Log in to the AWS console then click on the Sagemaker link (it should be in your history, otherwise find it in the ‘Services’ on the left or type sagemaker in the search bar). Once on this page, select ‘Notebook instances’ on the left menu.
Tick the box of the notebook you want to start, then click on ‘Start’.

You will have to wait a little bit for your instance to be ready while the light under instance state is orange.

When it turns green, just click on ‘Open’ and you’ll be back to your notebooks.

Updating start script
Every time the Notebook instance is started it will run a Lifecycle Configuration script. To update the start script, select ‘Notebook instances’ on the left menu and then select the Lifecycle configuration name that starts with FastaiNbLifecycleConfig. Select the Edit button and now you will be able to update the Start notebook script to perform custom actions.
Stop your instance
When you finish working you must go back to your AWS console and stop your instance manually to avoid getting extra charges. Just pick the notebook you want to stop and click on the ‘Stop’ button next to its name.

NOTE: you will be charged for the time that your instance is running.